Navigating Bleed Zones: A Guide for Graphic Designers in Avanti Printing in Irvine (15321 Barranca Pkwy)
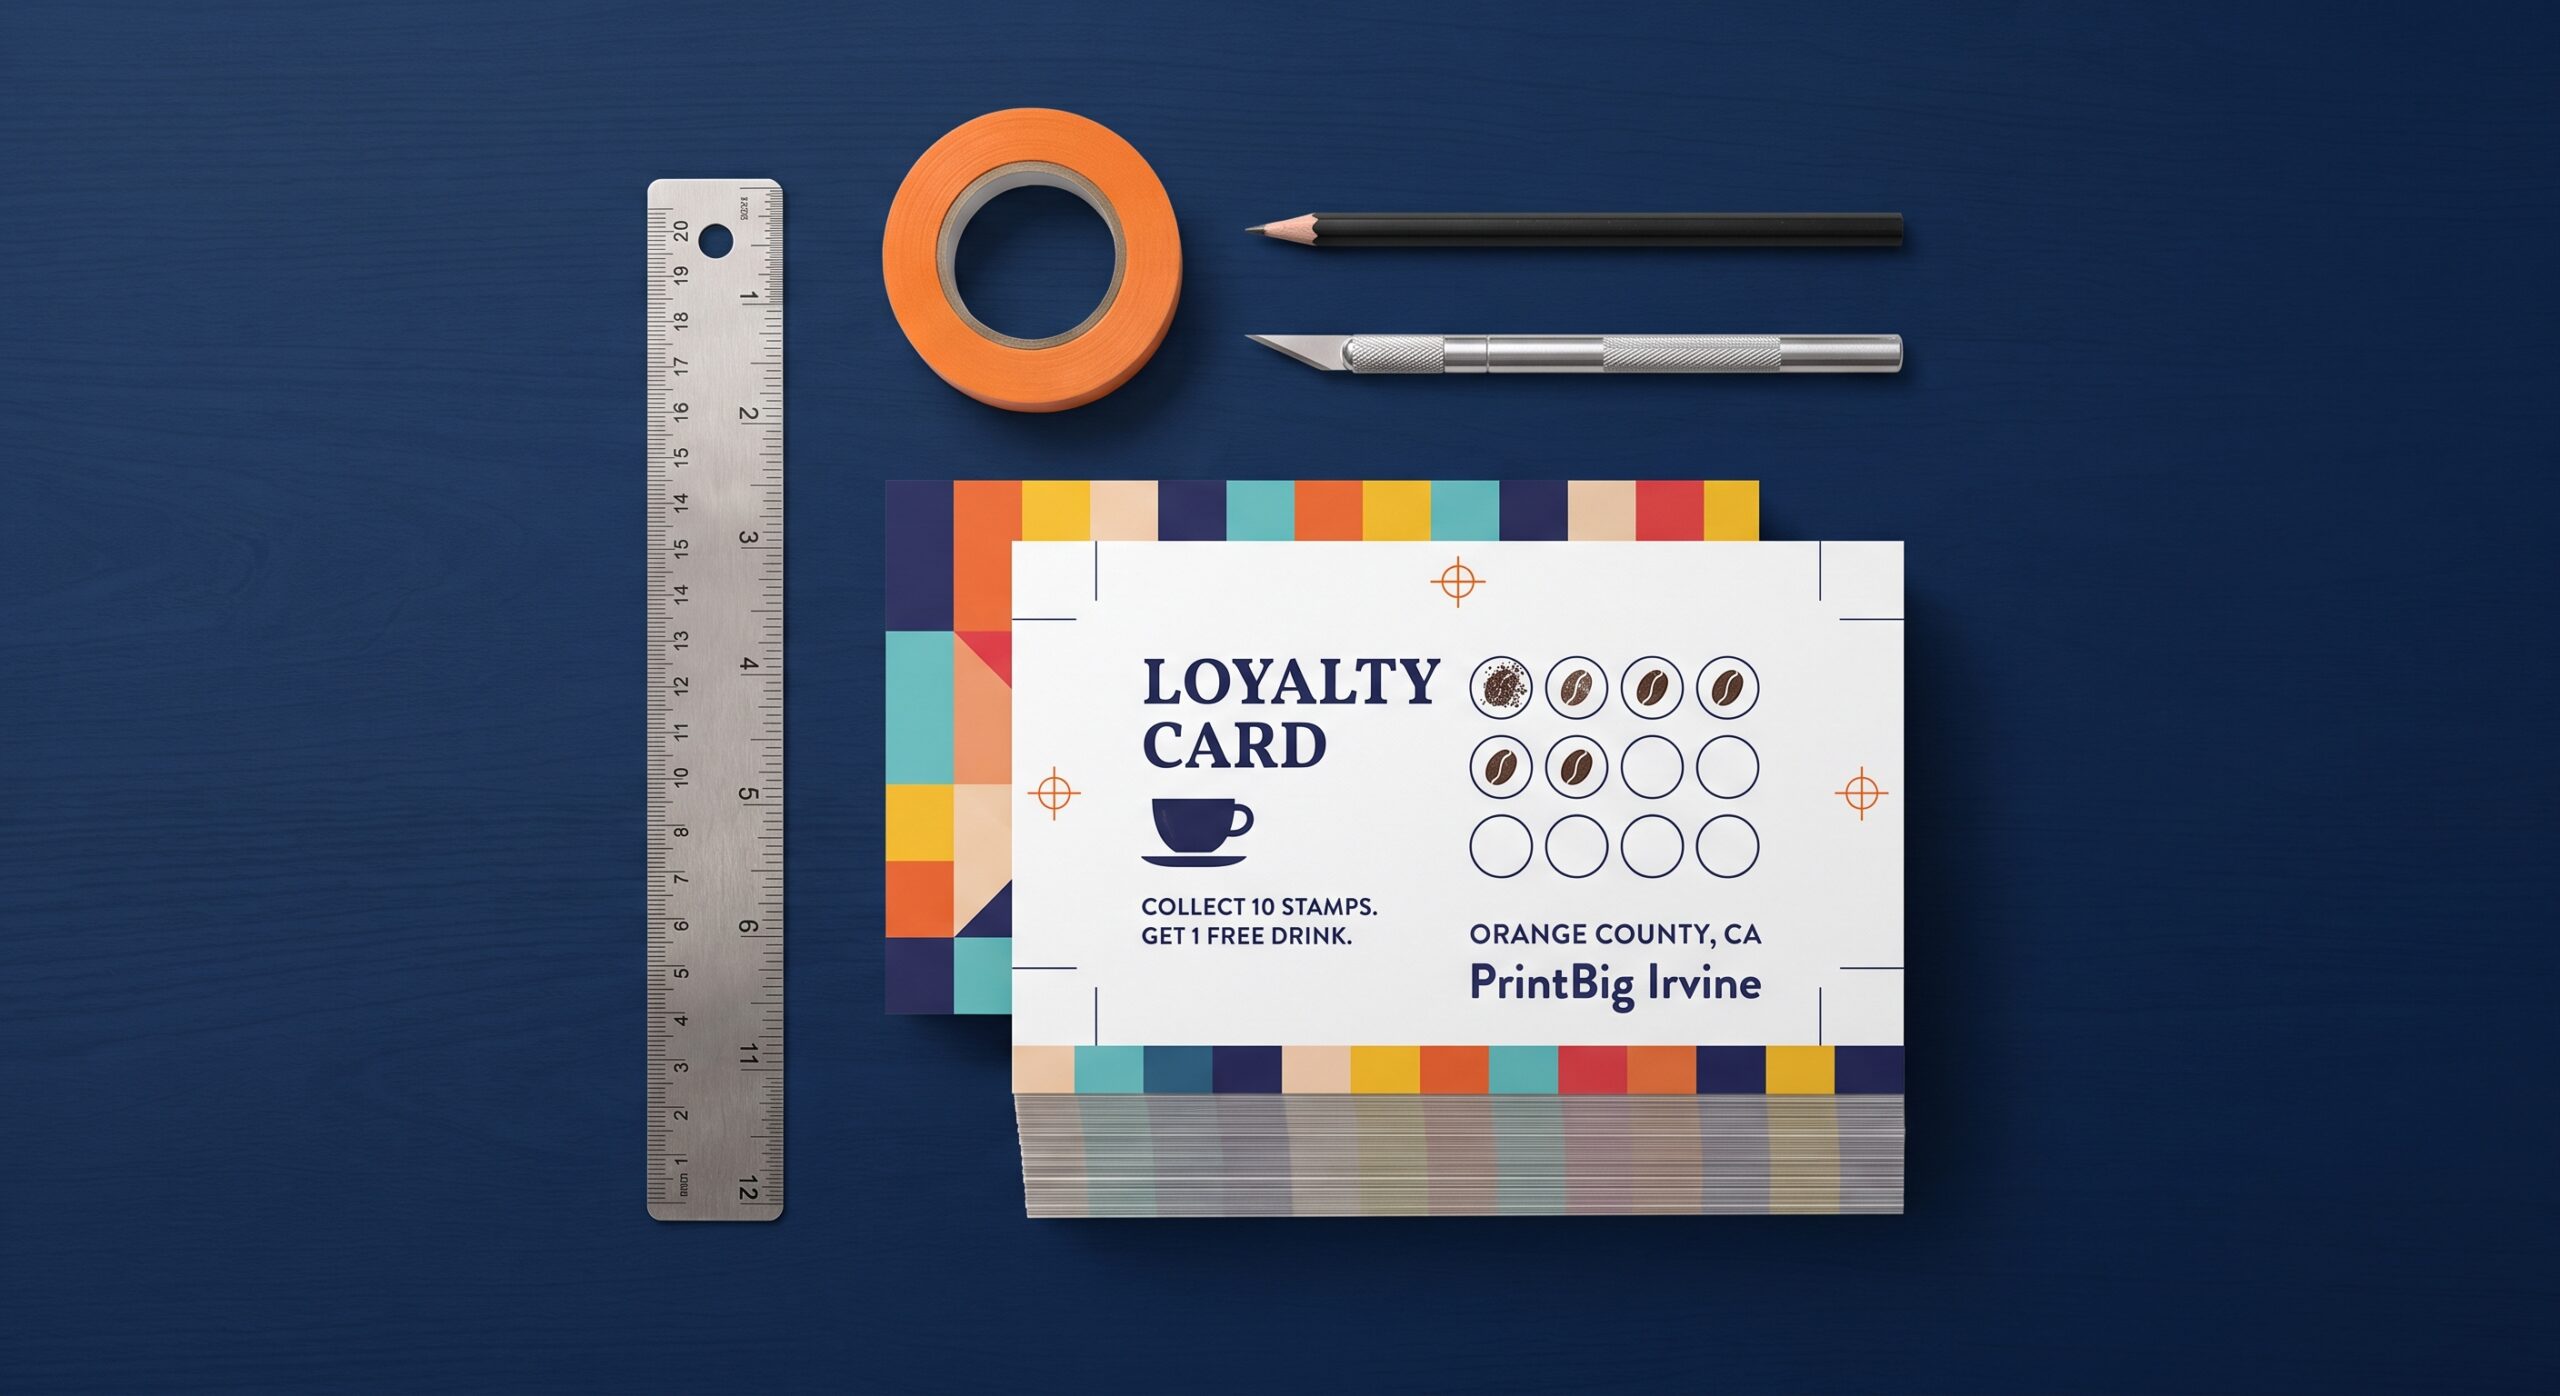
If you are setting up a print file for a client, the single most common reason a job gets delayed at the shop is a missing or incorrect bleed zone. A bleed zone is the area of your artwork that extends beyond the final trim edge of the page. It exists to ensure that when the cutter trims your piece, no unprinted white slivers appear at the edges. At Avanti Printing in Irvine (15321 Barranca Pkwy), we see files every week that get sent back for this exact issue. Here is a practical guide to setting up your bleed zones correctly so your files go straight to production.
What Exactly Is a Bleed Zone and Why Does It Matter?
A bleed zone is the margin of your document that sits outside the final cut line. When a designer creates a background color or an image that touches the edge of the page, that artwork must extend past the edge where the paper will be cut. The standard measurement for this is 0.125 inches (1/8 inch) on each side of the document.
Without this buffer, the cutting blade—which is accurate but not perfect—can shift slightly. If your background stops exactly at the edge, any tiny shift in the paper stack will leave a white line on the side of your finished product. The bleed zone gives the printer a safe area to trim through without risking your design.
For example, if you are printing a business card at a final size of 3.5 x 2 inches, your full file size must be 3.75 x 2.25 inches. That extra 0.125 inches on every side is your bleed.
The Three Key Margins You Must Know
There are three distinct areas in any print file. Confusing them is where most errors happen. You need to know the difference between the bleed, the trim line, and the safe zone.
- Bleed: The outermost edge. This is where your background colors and images extend to. It gets cut off.
- Trim Line: The final size of your piece. This is where the cutter blade goes.
- Safe Zone (Margin): The inner boundary. Keep all text, logos, and critical elements inside this zone. It is usually 0.125 inches inside the trim line, meaning it is 0.25 inches from the edge of your full bleed file.
If you place a logo too close to the trim line, it will look unbalanced or could even get clipped. The safe zone protects your content from the tolerance of the cutting process. It is not a suggestion; it is a requirement for a professional finish.
How to Set Up Bleed in Your Design Software
Setting up bleed is not difficult, but the steps differ depending on the software you use. Here is how to do it in the three most common programs.
Adobe InDesign
When you create a new document, you will see a “Bleed and Slug” section in the New Document dialog box. Enter 0.125 inches in the Bleed field. If you are working on an existing file, go to File > Document Setup and adjust the Bleed value there. InDesign will show a red line around your page indicating the bleed area. Extend your background images to that red line.
Adobe Illustrator
Go to File > New. In the New Document window, find the “Bleed” section on the right-hand side. Enter 0.125 inches for all four sides. If you already started your file, go to File > Document Setup and click “Edit Artboards.” You can then adjust the bleed in the top toolbar. Illustrator will show a red outline for the bleed boundary.
Canva
Canva is a bit more limited. When you create a design, use the custom size option and add 0.25 inches to your width and height. For a 5 x 7 inch flyer, you would set the file size to 5.25 x 7.25 inches. This gives you a 0.125-inch bleed on all sides. You must manually extend your background to the edges of this larger canvas. Keep your text at least 0.25 inches away from the edge.
Common Bleed Mistakes That Delay Your Print Job
Even experienced designers make these errors. Knowing what they are will help you avoid a phone call from our prepress team.
- Forgetting to extend the background: You set up the bleed in the software, but you leave your background rectangle at the trim size. The bleed area is white, which defeats the purpose.
- Using a PDF with no bleed: You set the bleed correctly in the source file, but when you export to PDF, you forget to include the bleed in the export settings. In InDesign, this is under File > Adobe PDF Presets, where you select “Marks and Bleeds” and check “Use Document Bleed Settings.”
- Text in the bleed area: You cannot “bleed” text. It will get cut off. Move it into the safe zone.
- Inconsistent bleed values: Some designers set 0.125 inches on the sides but forget the top or bottom. Every side needs the same value.
When Do You Need a Larger Bleed?
The 0.125-inch standard works for most projects, but not all. There are specific cases where you should increase your bleed to 0.25 inches or more.
If you are printing a large format piece, like a poster or a banner that is over 24 inches wide, the cutting tolerance is larger. A bigger bleed gives the cutter more room to work with. Similarly, if you are printing on thick stock, like a heavy cardstock for a book cover, the paper can shift more during the cut. Add extra bleed to be safe.
Another case is when you have a design that goes edge-to-edge with a repeating pattern. If the pattern is off by a fraction of a millimeter, it is very visible. A larger bleed area ensures the pattern aligns perfectly after trimming.
Digital vs. Offset: Does Bleed Change?
The bleed requirement is the same for both digital and offset printing—0.125 inches. However, the way the job is cut differs. Digital printing often uses a guillotine cutter, while offset printing might use a die cutter for custom shapes. The tolerance for a die cutter can be slightly different, but the 0.125-inch bleed is still the baseline.
For specialty shapes, like a custom-shaped sticker, you will need a die line, not just a bleed. A die line is a vector file that tells the cutter exactly where to cut. In that case, your bleed must extend beyond the die line, not just the edge of the page. Always check with the printer if you are doing a custom die cut.
How to Check Your File Before Sending It to Us
Before you upload your file to PrintBig Irvine, do a quick visual check. This takes two minutes and saves you a day of waiting.
- Turn on the “Overprint Preview” mode in your PDF viewer. This shows you exactly how the layers will look when printed.
- Zoom in to 400% on each edge of your document. Look for any white gaps between your background and the edge of the PDF.
- Check your PDF export settings. Open the “Marks and Bleeds” tab and confirm that “Trim Marks” and “Bleed Marks” are checked.
- Verify that all fonts are outlined or embedded. Missing fonts are a separate issue, but they will also stop your job.
If you are unsure about your setup, you can always send us a low-resolution proof first. We can check the bleed and trim lines before you commit to the final high-resolution upload. It is better to ask than to guess.
Frequently Asked Questions
What happens if I don’t include a bleed?
We will not run the job. We will contact you to fix the file, which adds time to your production schedule. If we run it without bleed, you risk getting white edges on your final piece, and we will not guarantee the quality of that print.
Can I just extend the background color manually in the PDF?
No. Editing a PDF after export is risky. It is much safer to go back to your original design file (InDesign, Illustrator, etc.) and fix the bleed there. Re-export the PDF with the correct settings. Manually stretching elements in a PDF editor often leads to distorted images or misaligned text.
Is the bleed the same as the margin?
No. The bleed is the area that gets cut off. The margin (safe zone) is the area where you keep your content. They are on opposite sides of the trim line. The bleed is outside the trim line; the margin is inside it.
Getting the bleed right is a basic skill, but it is the one that separates a smooth production run from a frustrating back-and-forth email chain. Set your file up correctly, and your project will move through Avanti Printing in Irvine (15321 Barranca Pkwy) without a hitch. If you have a file ready, upload it and we will take it from there.
Visit PrintBig Irvine



Post Comment